
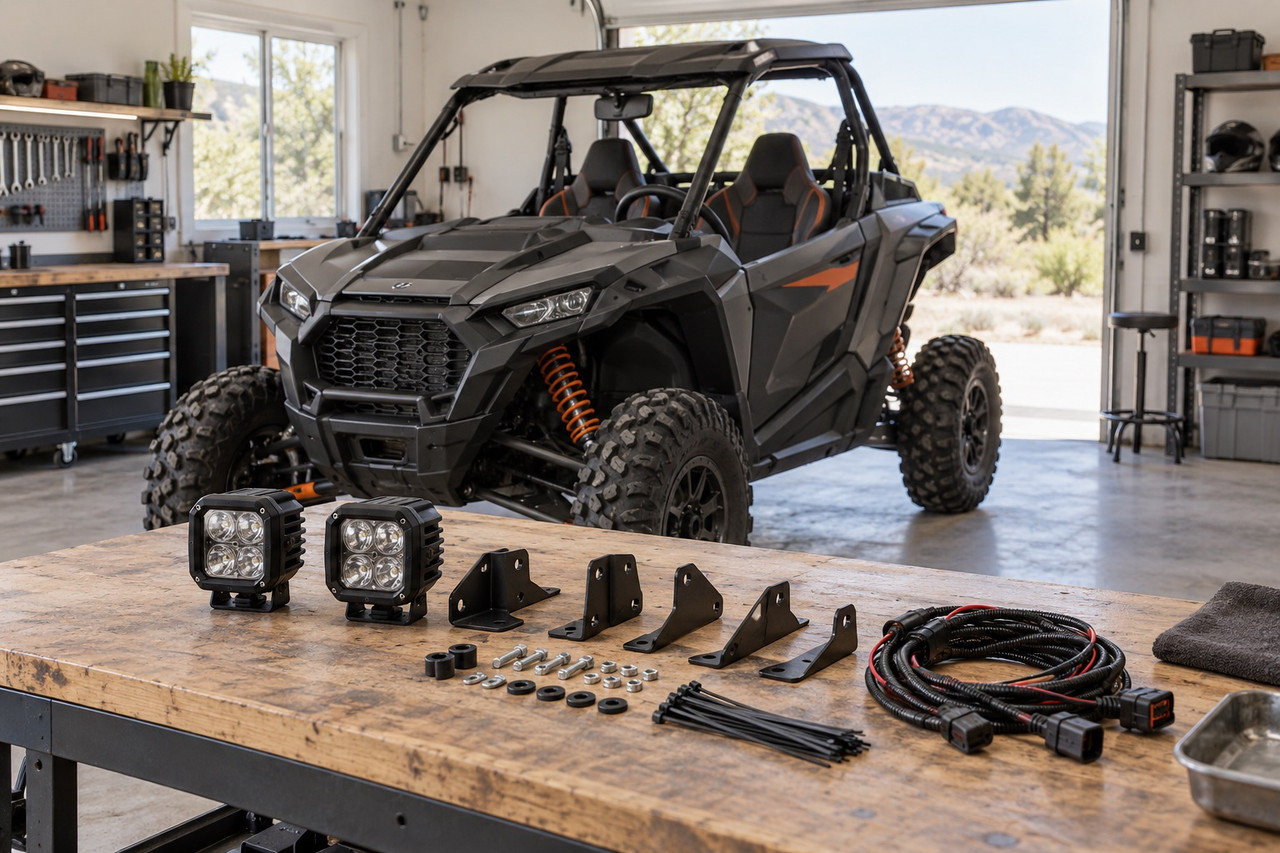
Identify the vehicle you actually own
Begin with the exact year, make, model and trim, then note any equipment already installed. A vehicle family can include several configurations, and an accessory described as fitting that family may still have exceptions. Doors, roofs, windshields, racks and protection equipment can also change the space available for a new part.
Use the vehicle information to find the owner’s manual and the accessory manufacturer’s fitment information. Polaris, for example, provides separate lookup resources for vehicle manuals and accessory installation instructions. Those resources answer different questions: one describes the vehicle, while the other explains the particular kit.
Keep the accessory part number beside the vehicle details. This gives a supplier or installer a concrete combination to check. A broad description such as “a roof light for a Ranger” leaves out the information needed to distinguish several possible mounting and electrical arrangements.
Define the job before choosing equipment
Write down the problem the accessory should solve. You might need somewhere to secure tools, better organization for a day out, protection for a particular area, or task lighting when the vehicle is stationary. A specific job makes it easier to compare products without collecting unrelated features.
Then consider the accessories already doing part of that job. A new component may depend on an existing rack or may replace hardware another accessory uses. Review these relationships before assuming the items can be combined. An accessory’s individual fitment listing does not necessarily verify every possible combination with other equipment.
For a multi-part project, sketch the intended arrangement and build a parts list. Separate necessary components from optional ones. This makes the total installation easier to assess and helps avoid discovering a required bracket or interface only after the vehicle has been taken apart.
Compare the box with the instructions
Read the kit contents and installation procedure before ordering. Confirm which fasteners, brackets, connectors and controls are supplied. Look for any additional component the procedure assumes is already present. Different trims may arrive with different equipment, so check those assumptions against your vehicle.
Do not replace a missing required part with something that merely appears similar. Ask the manufacturer or supplier which component is specified. This is especially relevant when several versions of a bracket or harness share a product name but have different part numbers or applications.
If the installation calls for special tools, additional service information or work beyond your experience, identify that early. The planning stage is the time to decide whether an installer should handle part or all of the job. That decision is easier to make with the full instructions than with a product-page photograph.
Check load and space together
Cargo capacity, rack capacity and the limits of an accessory are separate details to confirm. Check the exact vehicle manual for how passengers, cargo and accessories contribute to its permitted load. The fact that an item can be physically attached does not establish that the vehicle can carry the intended load in that position.
Polaris’s Sportsman documentation, for example, counts the operator, accessories, cargo and hitch weight toward its stated maximum capacity. That illustrates why the complete loaded vehicle matters. Do not transfer a Sportsman figure or calculation to a different model; use the manual for the machine being equipped.
Space checks are equally specific. Look at the full arrangement required by the instructions, including access to controls, entry points and service areas. A storage box may fit on a platform yet make another part difficult to reach. Resolve that conflict before committing to the final mounting position.
Plan electrical additions as a system
For powered accessories, confirm the electrical requirements and the supported connection method. Identify any harness, controller or vehicle interface the instructions require. A familiar-looking connector or an unused switch position does not establish that the circuit supports the new equipment.
Use the manufacturer’s specified circuit protection and installation procedure. Do not derive an electrical-load allowance from an accessory’s marketing description or from the output of another device. Where the required information is missing, request it before buying or modifying wiring.
Plan cable routing and control placement with the same care as the main accessory. Follow the instructions for protecting the harness and keeping it clear of heat and moving components. Include access for inspection and service, rather than routing everything solely around the shortest path.
Inspect the completed combination
Complete the vehicle and accessory manufacturers’ post-installation checks. Verify that the equipment functions as instructed and that it does not interfere with another installed component. Keep any specified follow-up inspection or maintenance requirements with your normal vehicle records.
Save the component list and installation documents. If you later add another accessory, that record provides a useful starting point for checking the combination. A well-planned installation is not simply a part bolted onto a vehicle; it is a documented setup whose fitment, contents, load and operating requirements have been considered together.
Explore mounts and enclosures and powersports lighting. Find the instructions for your exact kit in the Polaris accessory instruction library when applicable.